How to use Material-UI with Next.js ?
Last Updated : 26 Jul, 2024
Integrating Material-UI (now known as MUI) with Next.js allows you to build modern, responsive user interfaces with a comprehensive set of React components. In this article, we will learn some additional necessary steps to be performed to integrate Material-UI with the Next.js project.
Prerequisites:
Approach
To use the Material-UI with Next.js we have to wrap the complete app with the ThemeProvider for consistent theming, using Material-UI components in your pages, and ensuring server-side rendering support with Emotion’s styling solutions for optimized performance and consistent styling.
First Let's start by creating a Next.js project.
Steps to Integrate Material UI with Next.js
Step 1: Initialize a nwe Next.js project using the following command:
npx create-next-app gfg-next-mui
Step 2: Move to the Project directory
cd gfg-next-mui
Step 3: Install Material-UI
To install the dependencies and save them in your package.json file, run:
npm install @mui/material @emotion/react @emotion/styled @emotion/server
Project Structure:
It will look like this.

The updated dependencies in the package.json file are:
"dependencies": {
    "@emotion/react": "^11.13.0",
    "@emotion/server": "^11.11.0",
    "@emotion/styled": "^11.13.0",
    "@mui/material": "^5.16.5",
    "next": "14.2.4",
    "react": "^18",
    "react-dom": "^18"
}
Step 4: Modify the _document.js file. Configure the next app for server-side rendering using the Material UI and emotion library.
JavaScript // pages/_document.js import * as React from 'react'; import Document, { Html, Head, Main, NextScript } from 'next/document'; import createEmotionServer from '@emotion/server/create-instance'; import theme from '../src/theme'; import createEmotionCache from '../src/createEmotionCache'; export default class MyDocument extends Document { render() { return ( <Html lang="en"> <Head> {/* PWA primary color */} <meta name="theme-color" content={theme.palette.primary.main} /> <link rel="shortcut icon" href="/static/favicon.ico" /> <link rel="stylesheet" href= "https://fonts.googleapis.com/css?family=Roboto:300,400,500,700&display=swap" /> {/* Inject MUI styles first to match with the prepend: true configuration. */} {this.props.emotionStyleTags} </Head> <body> <Main /> <NextScript /> </body> </Html> ); } } // `getInitialProps` belongs to `_document` (instead of `_app`), // it's compatible with static-site generation (SSG). MyDocument.getInitialProps = async (ctx) => { const originalRenderPage = ctx.renderPage; // You can consider sharing the same emotion cache between // all the SSR requests to speed up performance. // However, be aware that it can have global side effects. const cache = createEmotionCache(); const { extractCriticalToChunks } = createEmotionServer(cache); ctx.renderPage = () => originalRenderPage({ enhanceApp: (App) => function EnhanceApp(props) { return <App emotionCache={cache} {...props} />; }, }); const initialProps = await Document.getInitialProps(ctx); // This is important. It prevents emotion to render invalid HTML. // See // https://github.com/mui-org/material-ui/issues/26561#issuecomment-855286153 const emotionStyles = extractCriticalToChunks(initialProps.html); const emotionStyleTags = emotionStyles.styles.map((style) => ( <style data-emotion={`${style.key} ${style.ids.join(' ')}`} key={style.key} // eslint-disable-next-line react/no-danger dangerouslySetInnerHTML={{ __html: style.css }} /> )); return { ...initialProps, emotionStyleTags, }; }; Step 5: Define Material-UI theme with custom primary, secondary, and error colors using createTheme from @mui/material/styles.
Create an src folder, add theme.js and createEmotionCache.js files as below
JavaScript // Filename - src/theme.js import { createTheme } from "@mui/material/styles"; import { red } from "@mui/material/colors"; // Create a theme instance. const theme = createTheme({ palette: { primary: { main: "#556cd6", }, secondary: { main: "#19857b", }, error: { main: red.A400, }, }, }); export default theme; // Filename - src/createEmotionCache.js import createCache from '@emotion/cache'; export default function createEmotionCache() { return createCache({ key: 'css', prepend: true }); } Step 5: Update the file /pages/_app.js with the below code
JavaScript // Filename - pages/_app.js import * as React from "react"; import PropTypes from "prop-types"; import Head from "next/head"; import { ThemeProvider } from "@mui/material/styles"; import CssBaseline from "@mui/material/CssBaseline"; import { CacheProvider } from "@emotion/react"; import theme from "../src/theme"; import createEmotionCache from "../src/createEmotionCache"; // Client-side cache shared for the whole session // of the user in the browser. const clientSideEmotionCache = createEmotionCache(); export default function MyApp(props) { const { Component, emotionCache = clientSideEmotionCache, pageProps } = props; return ( <CacheProvider value={emotionCache}> <Head> <meta name="viewport" content="initial-scale=1, width=device-width" /> </Head> <ThemeProvider theme={theme}> {/* CssBaseline kickstart an elegant, consistent, and simple baseline to build upon. */} <CssBaseline /> <Component {...pageProps} /> </ThemeProvider> </CacheProvider> ); } MyApp.propTypes = { Component: PropTypes.elementType.isRequired, emotionCache: PropTypes.object, pageProps: PropTypes.object.isRequired, }; Step 6: Update the Home Component in /pages/index.js with the below code.
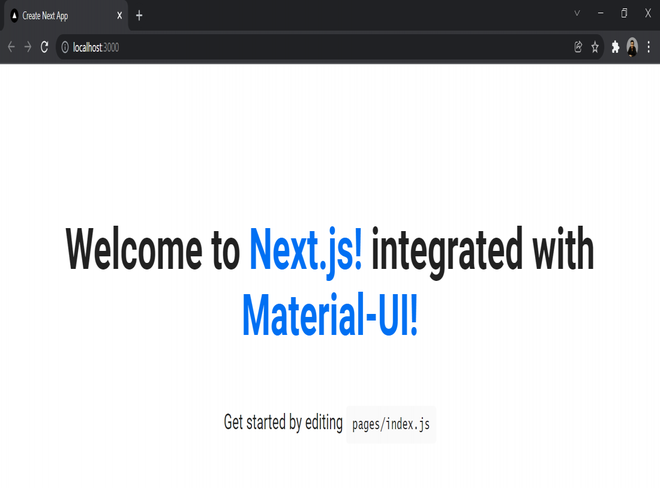
JavaScript // pages/inde.js import Head from "next/head"; import styles from "../styles/Home.module.css"; export default function Home() { return ( <div className={styles.container}> <Head> <title>Create Next App</title> <link rel="icon" href="/favicon.ico" /> </Head> <main className={styles.main}> <h1 className={styles.title}> Welcome to <a href="https://nextjs.org"> Next.js!</a> integrated with{" "} <a href="https://mui.com/">Material-UI!</a> </h1> <p className={styles.description}> Get started by editing{" "} <code className={styles.code}> pages/index.js</code> </p> </main> </div> ); } Steps to run the application: To run the app, type the following command in the terminal.
npm run dev
Output: