Creating Pull Requests from VS Code on GitHub
Last Updated : 08 Jul, 2024
Creating pull requests is an important part of collaborative software development. A pull request (PR) allows you to propose changes to a codebase, which can then be reviewed and merged by others. While GitHub's web interface is a common way to handle pull requests, Visual Studio Code (VS Code) offers a powerful alternative that integrates seamlessly with your development workflow.
This article will guide you through creating pull requests from VS Code, ensuring your content is SEO-friendly and easy to understand.
Steps to Create Pull Requests from VS Code on GitHub
Step 1: Create a Copy of the Repository
In order to work on an open-source project, you will first need to make your own copy of the repository. To do this, you should fork the repository and then clone it so that you have a local working copy.
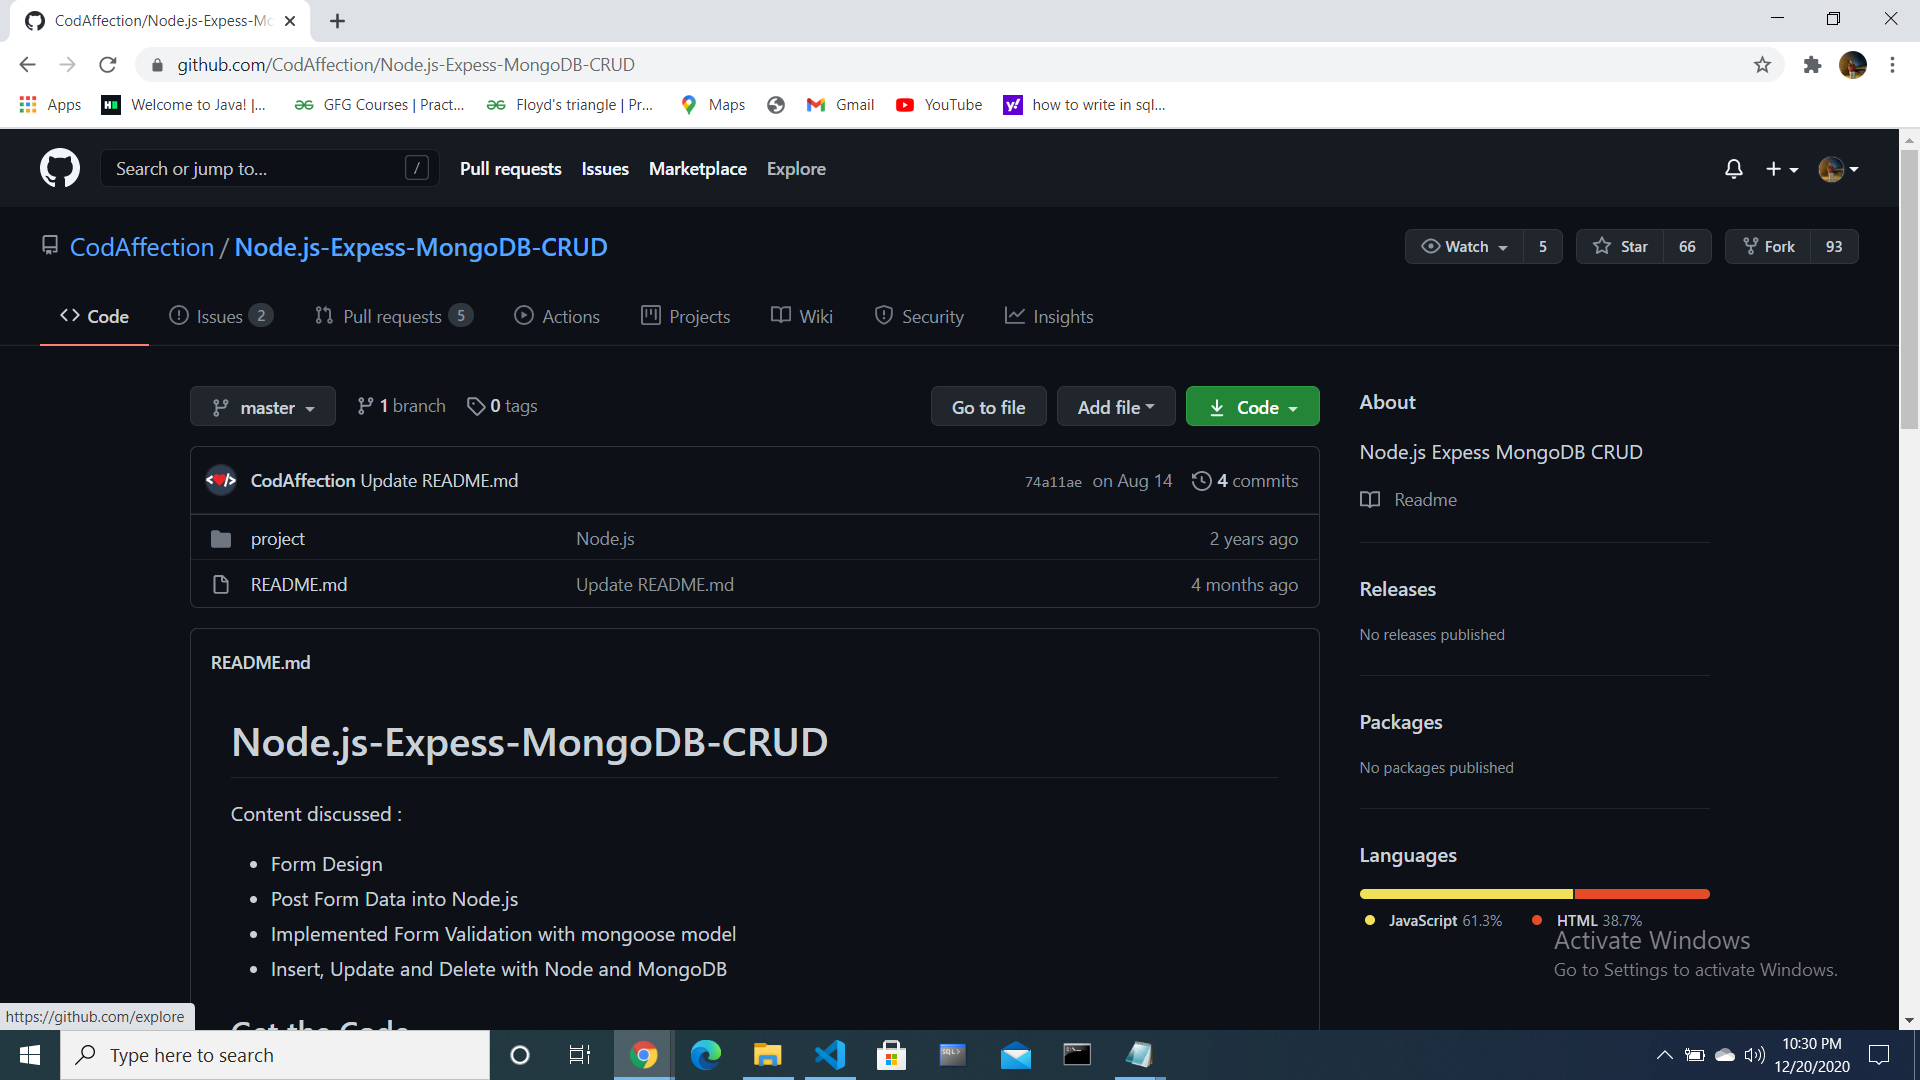
Step 2: Fork the Repository
We can fork any public repository from Github by clicking on the "Fork" button on the upper right-hand side of the page, underneath your user icon:
Now the repository will be forked to your Github account.
Step 3: Clone the Repository
- Open the Command Palette (
Ctrl+Shift+P or Cmd+Shift+P on Mac). - Type
Git: Clone and select it. - Paste the repository URL and choose a local directory to clone it.
Copy the URL of the git repository as the instruction given below:

Now in VS Code terminal write the following command:
$ git clone https://github.com/pallavisharma26/Node.js-Express-MongoDB-CRUD.git
Now that we have a local copy of the code, we can move on to creating a new branch on which to work with the code.
Step 4: Create a New Branch
The default main branch of a project repository is usually called the master branch. A common best practice is to consider anything on the master branch as being deployable for others to use at any time.
Now, we’ll create our new branch with the git branch command. Make sure you name it descriptively so that others working on the project understand what you are working on.
$ git branch new-branch
Now that our new branch is created, we can switch to make sure that we are working on that branch by using the git checkout command:
$ git checkout new-branch
When you run this command you will get the Output:
Switched to branch 'new-branch'
If you want to go back to master again then the command is:
$ git checkout master
At this point, you can now modify existing files or add new files to the project on your own branch.
Once you have modified an existing file or added a new file to the project, you can add it to your local repository, which we can do with the git add command:
$ git add filename.md
If you want to add all modified or added file then use this command:
$ git add .
Now commit the changes you made in the repository with the help of git commit command.
$ git commit
If you have a very short message, we can record that with the -m flag and the message in quotes
$ git commit -m "your messages"
If you would like to configure your default text editor, you can do so with the git config command, and set nano as the default editor, for example:
$ git config --global core.editor "nano"
Once you have saved and exited the commit message text file, you can verify what git will be committing with the following command:
$ git status
After all this now it is ready to push our changes to the current branch of your forked repository:
$ git push --set-upstream origin new-branch
Output of all the command done above is:

Step 5: Update Local Repository
While you are working with many developers on the same project, it is important for you to keep your local repository up-to-date with the project as you don’t want to make a pull request for code that will cause conflicts. To keep your local copy of the codebase updated, you’ll need to sync changes.
Step 6: Configure a Remote for the Fork
Remote repositories make it possible for you to collaborate with others on a Git project. Each remote repository is a version of the project that is hosted on the Internet or a network you have access to. Each remote repository should be accessible to you as either read-only or read-write, depending on your user privileges.
$ git remote -v
Output will be:
origin https://github.com/pallavisharma26/Node.js-Express-MongoDB-CRUD.git (fetch)
origin https://github.com/pallavisharma26/Node.js-Express-MongoDB-CRUD.git (push)
Next, we’ll specify a new remote upstream repository for us to sync with the fork. This will be the original repository that we forked from. We’ll do this with the git remote add command.
$ git remote add upstream https://github.com/CodAffection/Node.js-Express-MongoDB-CRUD.git
We can verify that our remote pointer to the upstream repository was properly added by using the git remote -v command again from the repository directory:
$ git remote -v
Output will be:
origin https://github.com/pallavisharma26/Node.js-Express-MongoDB-CRUD.git (fetch)
origin https://github.com/pallavisharma26/Node.js-Express-MongoDB-CRUD.git (push)
stream https://github.com/CodAffection/Node.js-Express-MongoDB-CRUD.git(fetch)
stream https://github.com/CodAffection/Node.js-Express-MongoDB-CRUD.git(push)
Now you can refer to upstream on the command line instead of writing the entire URL, and you are ready to sync your fork with the original repository.
Step 7: Sync the Fork
To sync our fork, from the directory of our local repository in a terminal window, we’ll use the git fetch command to fetch the branches along with their respective commits from the stream repository. Since we used the shortname “upstream” to refer to the upstream repository, we’ll pass that to the command:
$ git fetch upstream
Output will be:
From https://github.com/CodAffection/Node.js-Express-MongoDB-CRUD.git
* [new branch] master -> upstream/master
Now, commits to the master branch will be stored in a local branch called upstream/master.
Let’s switch to the local master branch of our repository:
$ git checkout master
We’ll now merge any changes that were made in the original repository’s master branch, which we will access through our local upstream/master branch, with our local master branch:
$ git merge upstream/master
After this, it starts updating the changes made.
Strep 8: Create Pull Request
Now if you open a public repository you get this:

After clicking on Compare & pull request you get:

GitHub will alert you that you are able to merge the two branches because there is no competing code. You should add in a title, a comment, and then press the “Create pull request” button.
Similar Reads
How To Create a Pull Request in GitHub? Pull requests are an important part of collaborative software development on GitHub. They allow developers to propose changes, review code, and discuss improvements before integrating new code into a project. This guide will walk you through the process of creating a pull request in GitHub, ensuring
3 min read
How to Create a Pull Request on GitHub using Android Studio? Creating a pull request is an important part of collaborating on projects hosted on GitHub. It allows you to propose changes to a repository, enabling others to review, discuss, and merge your changes. Here’s a step-by-step guide on how to create a pull request on GitHub using Android Studio. Steps
2 min read
How to Create Pull Request on GitHub Without Using any IDE? Creating a pull request (PR) on GitHub is an important part of collaborative software development. It allows you to propose changes to a project, which can then be reviewed and merged by other contributors. You don't need an Integrated Development Environment (IDE) to create a pull request. In this
2 min read
How to create a comment in a pull request using octokit? Introduction: The Octokit client can be used to send requests to GitHub's REST API and queries to GitHub's GraphQL API. The octokit package integrates the three main Octokit libraries:API client (REST API requests, GraphQL API queries, Authentication)App client (GitHub App & installations, Webho
4 min read
Creating Repository in GitHub In this article, we will learn how to publish or upload projects to our GitHub account. This article will give you very detailed information about what is GitHub and how to set up a GitHub account. We will cover a brief introduction to GitHub and then we will step by step about How to create and man
3 min read